

Lakeshore Willows provides you with instructions on how to build your own Living Willow Play Hut and Tunnel using dormant willow rods.
It is becoming increasingly popular to install living willow huts and tunnels at daycares, school yards and your own yard for young children to play in. Not only are they beautiful structures (when maintained properly), they also give your child a sense of nature as it is a living structure.
Create your own play structure
You can create your own hut and/or tunnel in different sizes which the kits will reflect, the instructions are the same for all sizes.
At Lakeshore Willows we provide kits for living willow play hut and tunnel in spring after we harvest - typically from mid March to mid April. Our kits include: dormant willow rods, heavy landscape fabric to cover the ground, staples to keep the cloth in place, and ties to hold the rods together. In addition, you will need mulch to cover the area in a thick layer, a drip hose and a timer to water the structure daily during at least the first growing season.
Click on the images to see examples of the following steps.


- Page 1 of 3
Step 1: Start by marking the circumference of the hut.
Before you start inserting the rods, it is recommended that you put down a heavy landscape fabric that extends about 1 foot beyond the floor of the structure all the way round. Plastic landscape fabric can be slippery so it is important to cover the landscape fabric in a thick layer of wood chips to mitigate this - either before or after the rods are installed.
We recommend that the ground is level and without stones approximately 30 cm (1 foot) into the soil.
Step 2: Mark the spots for the entrance (approximately 4 feet wide)
Insert 3 long rods together, pushing them about 30 cm (1 foot) into the ground. Twist the rods together and secure with a zip tie. Repeat at other end of the entrance.
Step 3: Insert vertical rods
Select your longest and heaviest rods and insert from one door post to the other all the way around the circumference approximately 30 cm (1 foot) apart and pushed 30 cm (1 foot) into the ground. Twist the two parts for the doorway together and secure with several zip-ties.
Step 4: Insert diagonal rods
Insert 2 additional rods for each already installed rod. Push them approx 30 cm (1 foot) into the ground on either side of the existing rod. Insert at an angle.
Step 5: Weave the rods
Start weaving the rods together on a diagonal (over, under etc) and tie at the first cross with a zip-tie, elastic or other. Continue weaving higher up and around the door "poles"
Step 6: Wait for your structure to grow
If you want your structure to be higher than your willow rods will allow, this is where you stop. Make sure that all the crossings of willow rods are securely fastened. At this point you will stop and wait for the structure to grow. When the growth on the rods is long enough for your desired height of the structure you will continue with the next step, step 7. This could be at the end of the first growing season, sooner or even later - into the 2nd growing season.
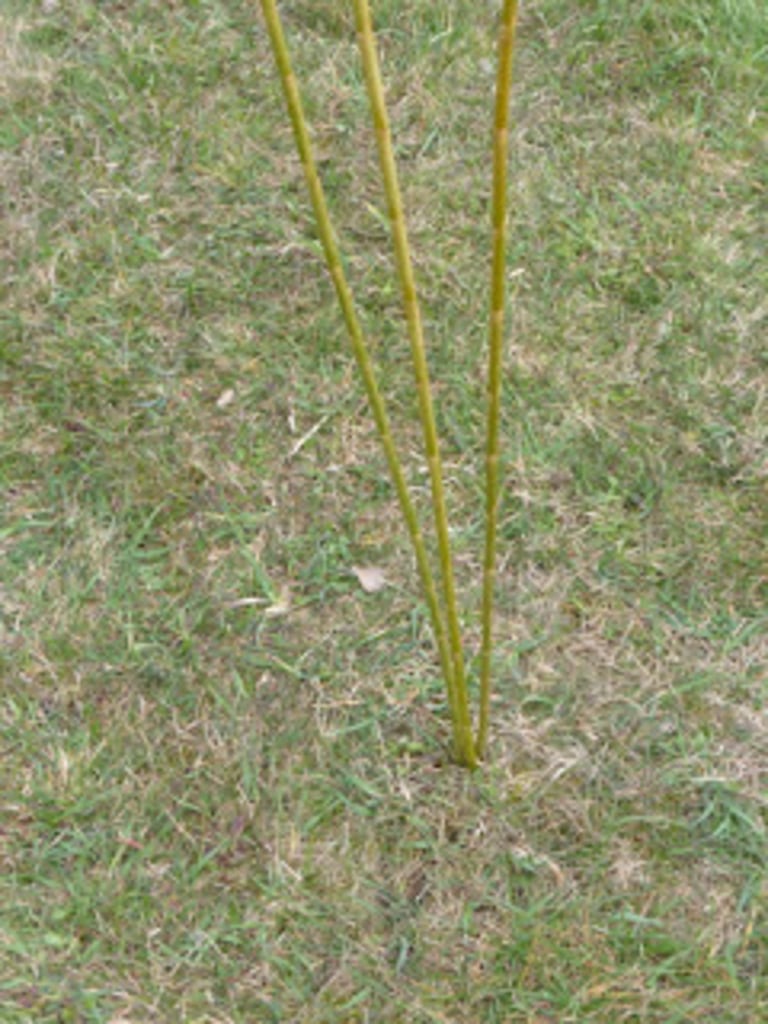
Step 7: Twist the rods together
Gather the tops of the rods in the middle, twisting them together and/or secure with ties.
Step 8: Mulch and keep the soil moist
Cover the ground in and beyond the structure with a heavy landscape cloth (if you haven't already done so) and a good layer of mulch to prevent weeds to grow and to keep the soil moist.
As the willow rods don't have any roots when you install them, it is very important to keep the soil around the rods moist at all times during the first growing season or two. This is best done by installing a drip-hose and connect it to a timer on the water tap.
Maintenance for your play structure
As the willow start to grow you want to weave the new shoots into the structure to make it stronger and denser. When the new shoots are about 60 cm (2 feet) long you want to weave them into the structure. If you wait much longer they may become too stiff for you to do it without breaking or kinking them. You can continue to do so in future years if you want the structure to be denser. Alternatively the structure should be trimmed twice a year to keep looking nice.
Do not despair if a couple of your willow rods don't take or die. You can always replace them with growth from some of the other rods as they grow.
Installing a play tunnel
Install a play tunnel in exactly the same way as explained above for the play hut. The shape of the structure is just different.